Implementing external commands
In order to create a Scheduler plugin you need to create an assembly that contains an implementation of the ISchedulerAction interface. This will allow you to build a DLL that the Scheduler can then load and execute.
If you have not configured your LS One environment for replication you can follow the instructions here.
Create the assembly
Start by creating a visual studio project with output type Class Library. Next you need a reference to the ISchedulerAction interface. This interface is in the assembly LSRetail.DD.Common, but you need to add a few more references in order to fully implement the plugin. All the necessary assemblies can be found in the development pack at DevPack\Source\POS\Build and at DevPack\Source\POS\Build\bin. A good starting point would be to reference the following assemblies:
- LSRetail.DD.Common
- LSRetail.DD.Common.Data
- Newtonsoft.Json

The Newtonsoft.Json assembly has to be referenced from C:\Program Files (x86)\LS Retail\Data Director 3\bin so that it will match the version of the Newtonsoft.Json loaded by the Scheduler.
Now you can create a simple class that implements the ISchedulerAction interface. The interface contains the following method:
|
ISchedulerAction methods |
Description |
|
string Run(string args) |
Executes the method and displays the return value in the debug monitor. args: A <string,string> dictionary which conains the key-value pairs configured in the LS One Site Manager. This can be used to pass information to the Run method. |
Below is an example of a class that implements this interface and outputs all given parameters to the Scheduler Debug winow:
public class TestPlugin : ISchedulerAction
{
	public string Run(string args)
	{
		Dictionary<string, string> arguments = JsonConvert.DeserializeObject<Dictionary<string, string>>(args);

		foreach (KeyValuePair<string, string> keyValuePair in arguments)
		{
			AppConfig.WriteDbg(DebugLevel.DetailL2, $"Key: {keyValuePair.Key}, Value: {keyValuePair.Value}");
		}

		return "Done";
	}
}
Deploying the assembly
At this point we have everything ready to be able to deploy a simple Scheduler plugin. Build the assembly and place it into the plugin directory of an installed LS Retail Data Director at :
C:\Program Files (x86)\LS Retail\Data Director 3\bin\plugins
If you have any other dependencies they need to be deployed into the bin folder:
C:\Program Files (x86)\LS Retail\Data Director 3\bin
Configuring the job
Now we need to configure a job that executes the code in the assembly that we just deployed.
1: Create the job in the Site Manager
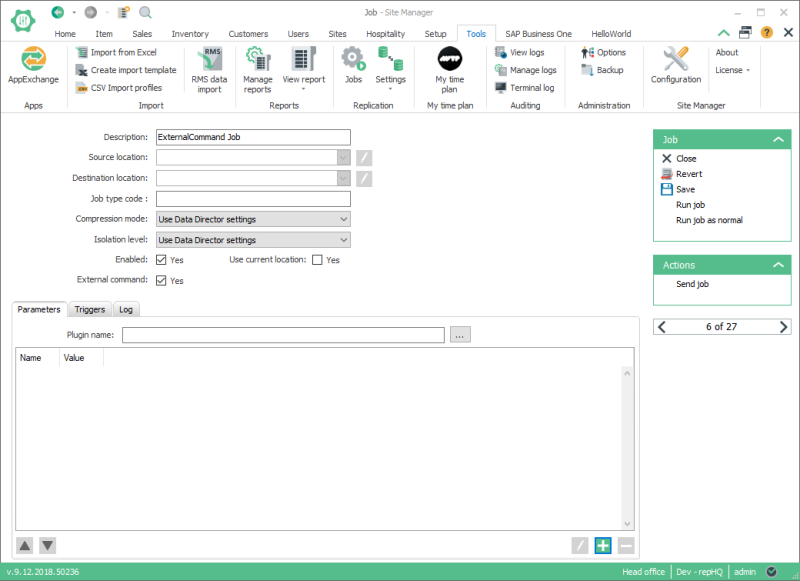
Go to ToolsØReplicationØJobs to open the jobs view. Create a new job called ExternalCommand job and mark it as External command.

2: Configure the parameters
Enter the full file name of your assembly into the Plugin name box or browse to your assembly:

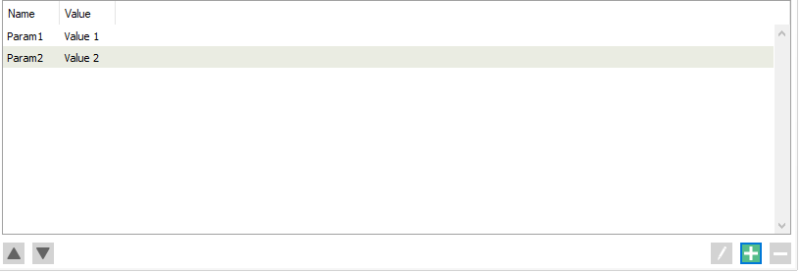
Now you can start adding parameters and values to the list. In this case we will add two parameters with some values:

Running the job
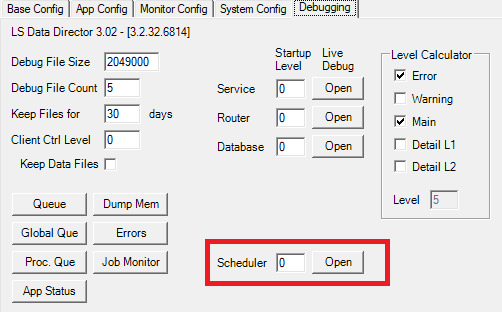
The job will be executed on the Scheduler's process, so we cannot monitor it in the Job Monitor. In order to see if our code is running we need to open the Scheduler debug window. Open the Configuration Tool and go to DebuggingØScheduler to open the Scheduler debug window:

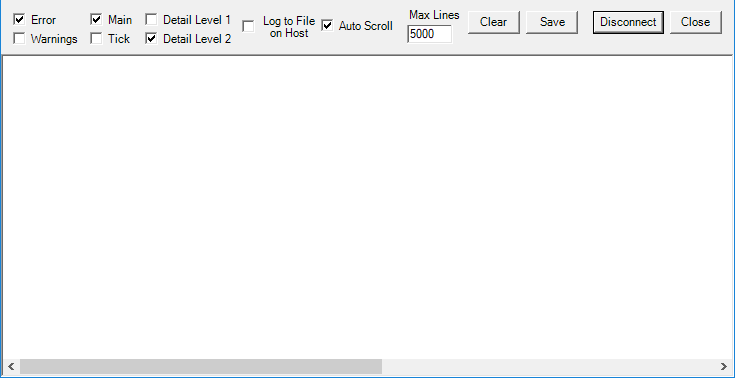
Press "Open" to run the debug tool. Mark Detail Level 2 and click Connect.

In the Site Manager open the ExternalCommand job we created earlier and click Run job. This should show you the following values in the Scheduler debug window:


